Avalanche Testnet
Table of contents
- Previous steps: Install the FireFly CLI
- Create an
evmconnect.ymlconfig file - Creating a new stack
- Start the stack
- Get some AVAX
- Use the public testnet
Starting with FireFly v1.1, it’s easy to connect to public Ethereum chains. This guide will walk you through the steps to create a local FireFly development environment and connect it to the Avalanche C-Chain Fuji testnet.
Previous steps: Install the FireFly CLI
If you haven’t set up the FireFly CLI already, please go back to the Getting Started guide and read the section on how to Install the FireFly CLI.
Create an evmconnect.yml config file
In order to connect to the Avalanche testnet, you will need to set a few configuration options for the evmconnect blockchain connector. Create a text file called evmconnect.yml with the following contents:
confirmations:
    required: 4 # choose the number of confirmations you require
policyengine.simple:
    fixedGasPrice: null
    gasOracle:
        mode: connector
For more info about confirmations, see Public vs. Permissioned
For this tutorial, we will assume this file is saved at ~/Desktop/evmconnect.yml. If your path is different, you will need to adjust the path in the next command below.
Creating a new stack
To create a local FireFly development stack and connect it to the Avalanche Fuji testnet, we will use command line flags to customize the following settings:
- Create a new stack named
avalanchewith1member - Disable
multipartymode. We are going to be using this FireFly node as a Web3 gateway, and we don’t need to communicate with a consortium here - Connect to an ethereum network
- Use the
evmconnectblockchain connector - Use an remote RPC node. This will create a signer locally, so that our signing key never leaves the development machine.
- See the Avalance docs and select and HTTPS RPC endpoint.
- Set the chain ID to
43113(the correct ID for the Avalanche Fuji testnet) - Merge the custom config created above with the generated
evmconnectconfig file
To do this, run the following command:
ff init avalanche 1 \
    --multiparty=false \
    -b ethereum \
    -c evmconnect \
    -n remote-rpc \
    --remote-node-url <selected RPC endpoint> \
    --chain-id 43113 \
    --connector-config ~/Desktop/evmconnect.yml
Start the stack
Now you should be able to start your stack by running:
ff start avalanche
After some time it should print out the following:
Web UI for member '0': http://127.0.0.1:5000/ui
Sandbox UI for member '0': http://127.0.0.1:5109


To see logs for your stack run:

ff logs avalanche
Get some AVAX
At this point you should have a working FireFly stack, talking to a public chain. However, you won’t be able to run any transactions just yet, because you don’t have any way to pay for gas. A testnet faucet can give us some AVAX, the native token for Avalanche.
First, you will need to know what signing address your FireFly node is using. To check that, you can run:
ff accounts list avalanche
[
  {
    "address": "0x6688e14f719766cc2a5856ccef63b069703d86f7",
    "privateKey": "..."
  }
]
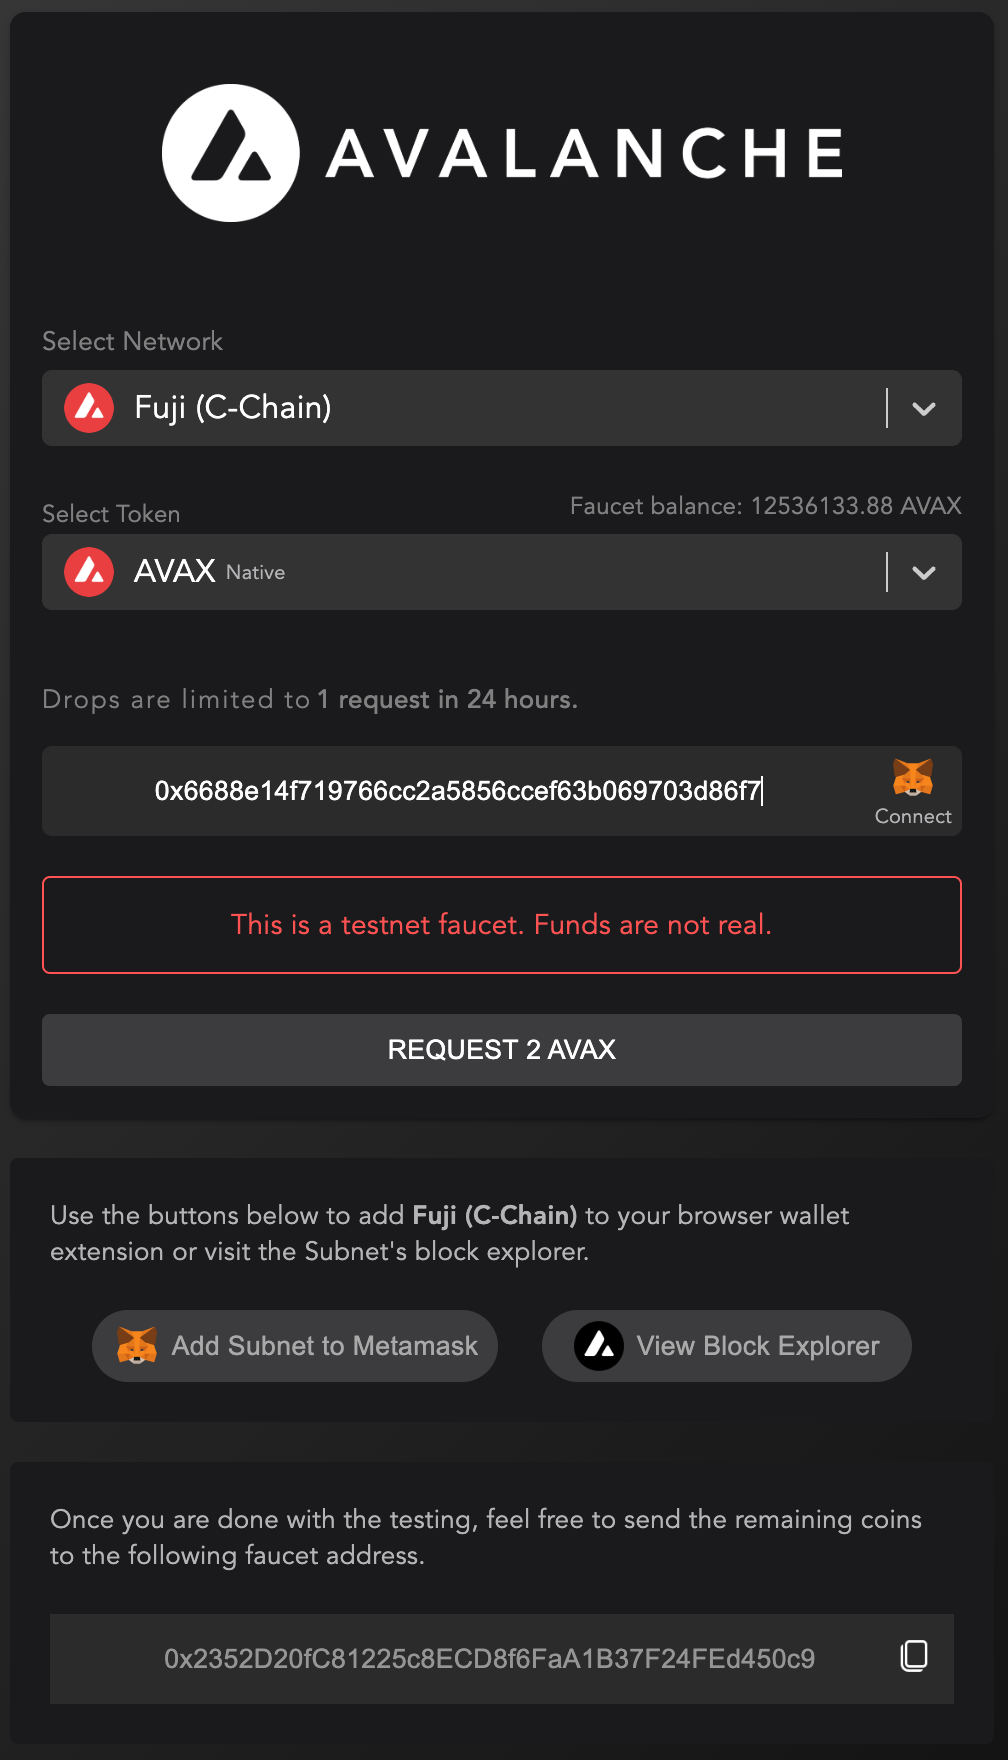
Copy the address listed in the output from this command. Go to https://faucet.avax.network/ and paste the address in the form. Make sure that the network you select is Fuji (C-Chain). Click the Request 2 AVAX button.
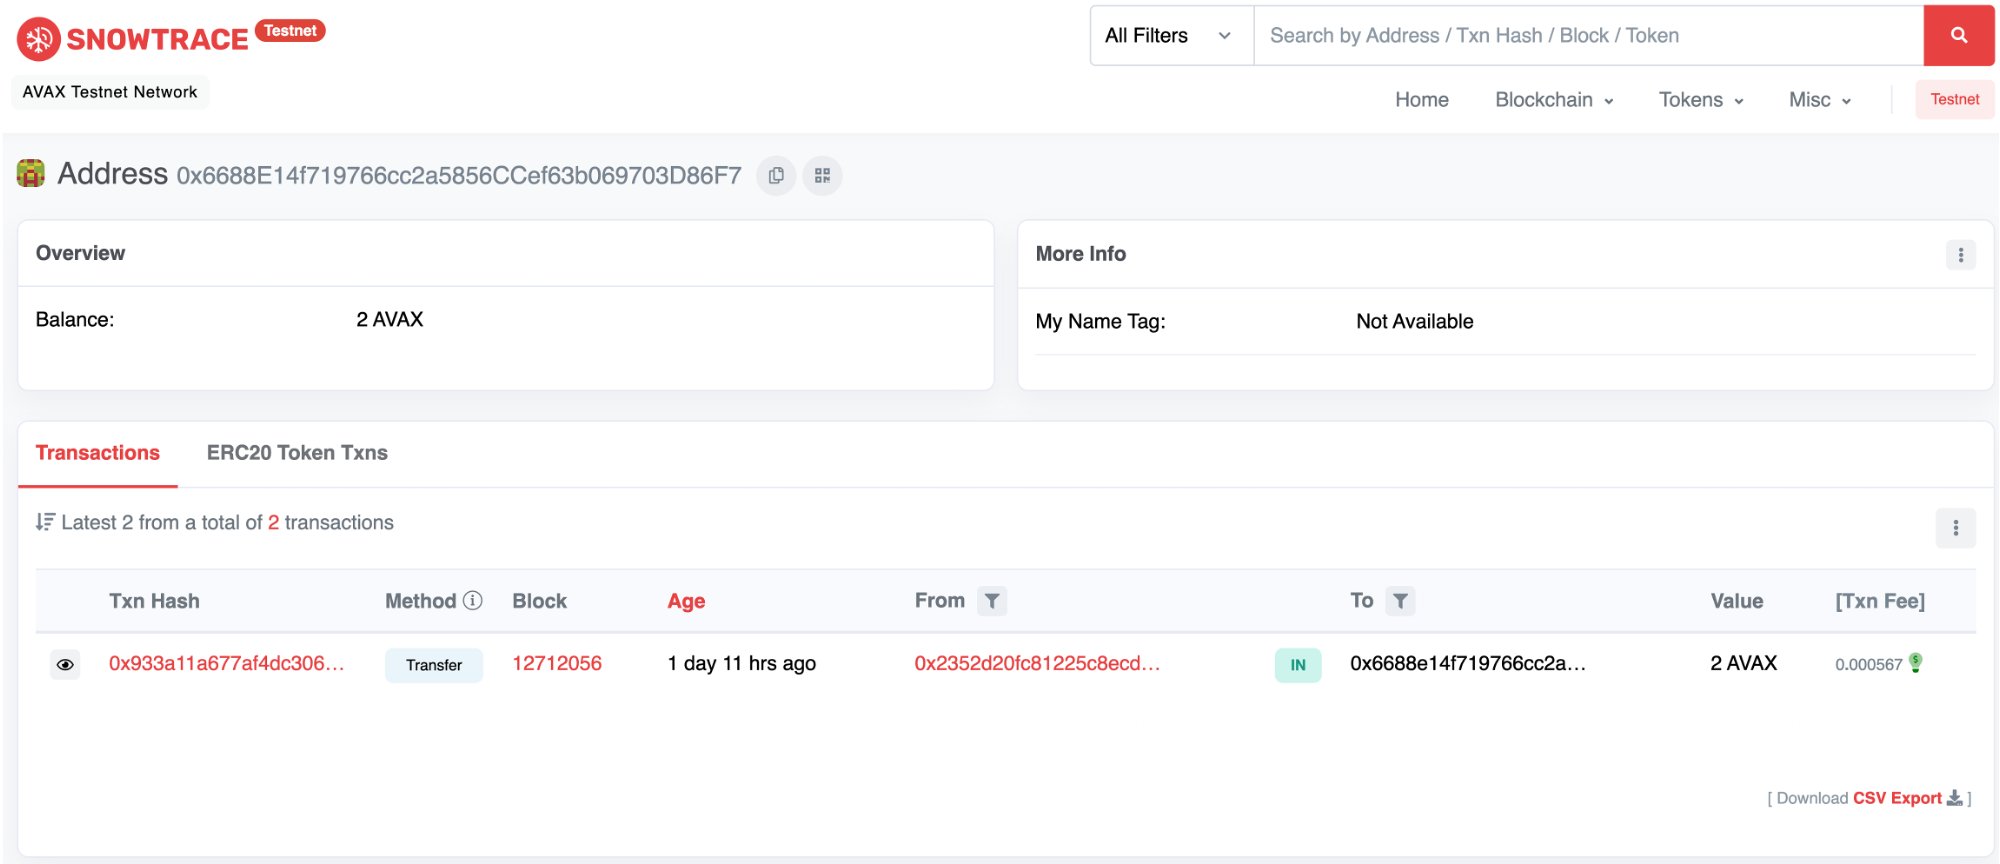
Confirm the transaction on Snowtrace
You should be able to go lookup your account on Snowtrace for the Fuji testnet and see that you now have a balance of 2 AVAX. Simply paste in your account address or transaction ID to search for it.
Use the public testnet
Now that you have everything set up, you can follow one of the other FireFly guides such as Using Tokens or Custom Smart Contracts. For detailed instructions on deploying a custom smart contract to Avalanche, please see the Avalanche docs for instructions using various tools.